 As a culinary enthusiast, the thought of using fresh herbs to enhance your dishes is undoubtedly appealing. Luckily, you don't need a vast backyard or advanced gardening skills to enjoy a constant supply of aromatic herbs. Starting a herb garden on your kitchen windowsill is a convenient and rewarding way to elevate your cooking. In this guide, we'll walk you through the steps to get your indoor herb garden up and thriving.
Choose the Right Location
The first step in successfully growing herbs indoors is selecting the perfect spot. Your kitchen windowsill is an excellent choice because it provides the necessary natural light. Most herbs require at least 6 hours of sunlight a day, so make sure your windowsill receives adequate sunlight. South or west-facing windows are typically ideal, but if natural light is limited, you can use a grow light.
Select Your Herb Varieties
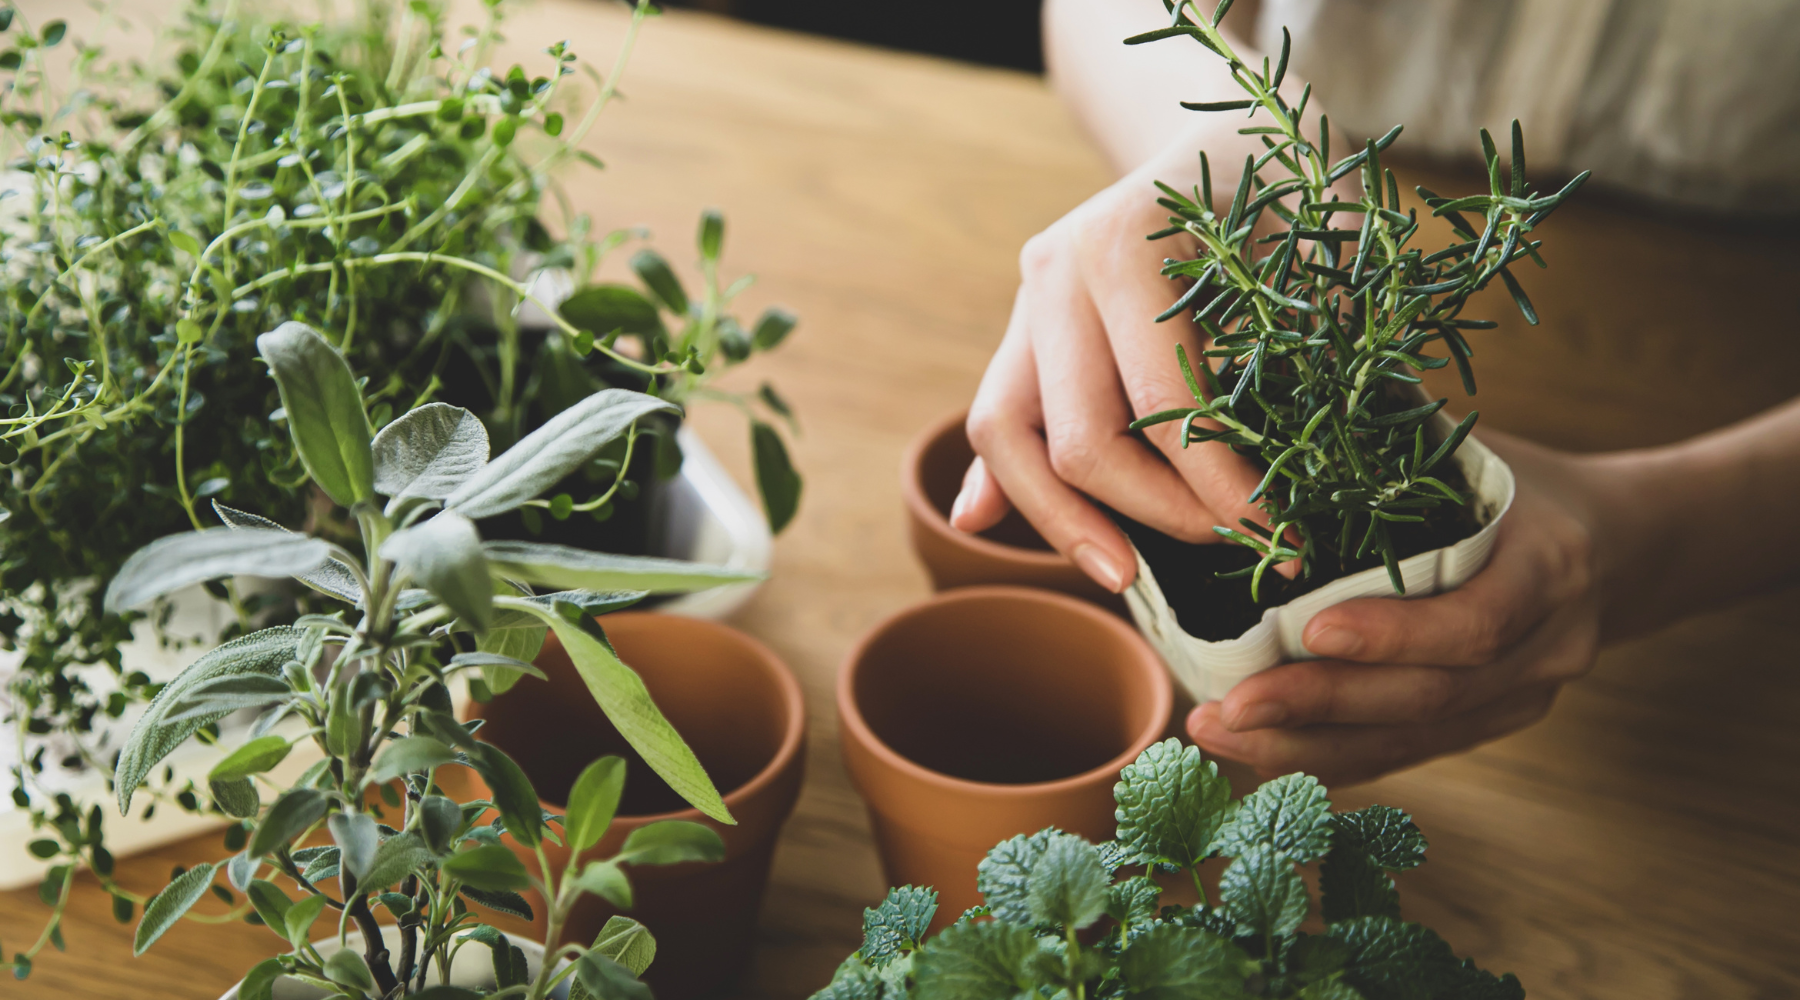
When it comes to choosing herbs, consider your culinary preferences. Some popular choices for a kitchen windowsill herb garden include basil, cilantro (coriander), rosemary (dwarf variety), thyme, chives, arugula, oregano, dill, parsley, and mint. These herbs are not only versatile in the kitchen but also relatively easy to grow indoors. Start with a few varieties that you love and expand from there.

Gather Your Supplies
You won't need an extensive list of gardening tools for your indoor herb garden. Here are the essentials:
Pots or Containers: Select small to medium-sized pots with good drainage to prevent overwatering. Consider pots with dimensions that provide each plant with around 16 square inches of space.
Potting Mix: Use a high-quality potting mix designed for herbs or vegetables. Pre-soak the soil to ensure its well-moistened before planting.
Seeds or Seedlings: You have the option to start your herb garden from seeds or purchase young plants from a nursery. If you choose to begin from seeds, you can use a planting tray or plant directly into individual pots. Follow the packet instructions for planting depth and spacing. It's also a good practice to consider the final container size based on the plant's requirements.
Watering Can: Opt for one with a narrow spout for precise watering. Grace & August Watering Can is ideal for this job.
Indoor Gardening Tools: While not absolutely necessary, having a set of small indoor houseplant tools can make your herb garden even more enjoyable. These tools are designed to help you prepare your pots efficiently. Look out for handy accessories like a soil scoop, which simplifies the process of transferring soil. Consider checking out our Pot Plant House Tool Sets at Grace and August, as they can be a valuable addition to your indoor gardening kit.
Plant Labels: Use these to keep track of the herbs you're growing.
Plant Your Herbs
Fill your pots with potting mix, leaving about an inch of space at the top. If you're starting from seeds, follow the packet instructions for planting depth and spacing. If using seedlings, transplant them gently into the pots. Water the herbs thoroughly after planting, ensuring the soil is evenly moist but not waterlogged.
Care for Your Herbs
Here are some essential care tips to keep your windowsill herb garden thriving:
Watering: Herbs like consistent moisture but don't like to sit in water. Water when the top inch of soil feels dry, and allow excess water to drain.
Pruning: Regularly trim your herbs to encourage bushy growth and prevent them from becoming too leggy. This also helps prevent flowering.
Fertilizing: Herbs in containers may need extra nutrients. Use a balanced, water-soluble fertilizer every 4-6 weeks, especially after each harvest.
Pest Control: Keep an eye out for pests, as indoor plants can still be vulnerable. If you spot any, address the issue promptly.
Harvest and Enjoy
Once your herbs are mature enough, you can start harvesting. Be sure to trim leaves regularly, but avoid removing more than one-third of the plant at a time to ensure continued growth. Freshly harvested herbs will elevate your culinary creations, providing a burst of flavour and aroma that dried herbs simply can't match.

Starting a herb garden on your kitchen windowsill is a fantastic way to bring the essence of your garden into your cooking. With a little care and attention, you can enjoy a continuous supply of fresh herbs that will enhance your dishes and brighten your kitchen. So, get started and savour the joy of growing and using your very own indoor herb garden!
Wait 2-3 weeks after planting before harvesting. Harvest once they have had a third set of true leaves. Start gently with only a few leaves at a time to ensure continued growth.
Regular pruning can increase the plant life and prevent flowering. When harvesting mature plants, try not to cut more than one-third of the leaves and stems at a time.
Indoor herbs require feeding due to their container size. A low-dose liquid organic feed after every harvest is best.
We've found a video that provides in-depth information on growing indoor herbs, which can be a helpful visual guide in your herb gardening journey.
By following these steps, you can have a flourishing kitchen windowsill herb garden that will not only enhance your cooking but also add a touch of greenery to your home.
Happy herb gardening!